
My daughter and I have been baking a lot lately. I need to avoid wheat and other grains, so our baking is grain-free when possible. Just last week, we found ourselves with too many blueberries in the fridge, so we went looking for a recipe to help us use them up.
Our first batch of blueberry crumble was good, but we saw room for improvement.
We wanted a thinner crust, and we thought adding lemon juice to the filling would add punch to its flavor. Plus we wanted more filling.
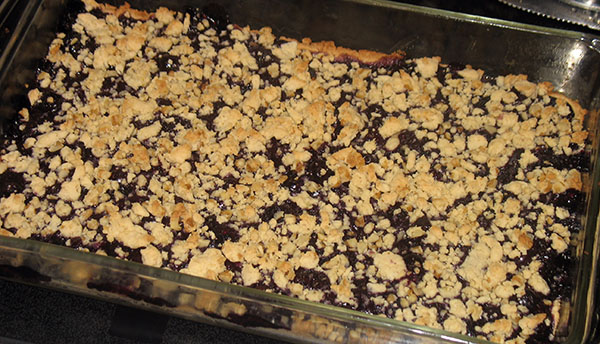
The recipe below includes our adjustments. When the adjusted crumble came out of our oven, we thought it was just about perfect!
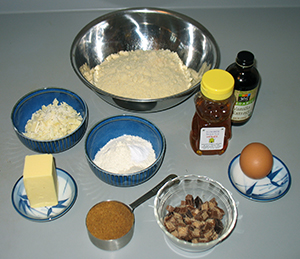
INGREDIENTS
Shortbread Crust
1 cup coconut flour
3/4 cup arrowroot powder
1/4 teaspoon salt
1 teaspoon vanilla
1/3 cup maple syrup
1/2 cup butter
Blueberry Filling
2-3/4 cups fresh blueberries
3 tablespoons maple syrup
1 tablespoon arrowroot powder
1/4 teaspoon salt
3/4 teaspoon lemon juice
Crumble Topping
1/3 of the shortbread mixture from the crust above
1/4 cup walnuts, minced
DIRECTIONS
1 • Pre-heat oven to 350°F. (Know your oven! Ours runs cold, so 350°F in a recipe equals 365°F on our dial.)
2 • Grease a 7” x 12” glass baking dish with butter, line with baking parchment, and set aside.
3 • In a medium mixing bowl, combine the ingredients for the crust and cut them together with a pastry cutter until a dough is formed. Reserve 1/3 of the mixture for the crumb topping. Press the other 2/3 of the mixture into the bottom of the prepared baking dish. Bake for 9 minutes, until golden.
4 • While the crust is baking, create the filling. Place all the filling ingredients into a medium saucepan. Cook over medium heat, gently pressing the berries to break them down. Cook for 7 to 9 minutes until the syrup is thick and no large berries remain. Take off the heat and set aside.
5 • Once the crust is baked, let it cool 10 minutes. While it cools, add the minced walnuts to the crumble dough.
6 • Spread the filling over the crust.
7 • Sprinkle the crumble mixture by hand over the filling as evenly as possible. Press it gently in place.
8 • Bake for 20 minutes.
9 • Let cool for 10 minutes. Then cut into bars and serve. The bars will be delicate, but delicious.

For more recipes, see:
Coconut Chocolates
Apples á la Ney-Grimm
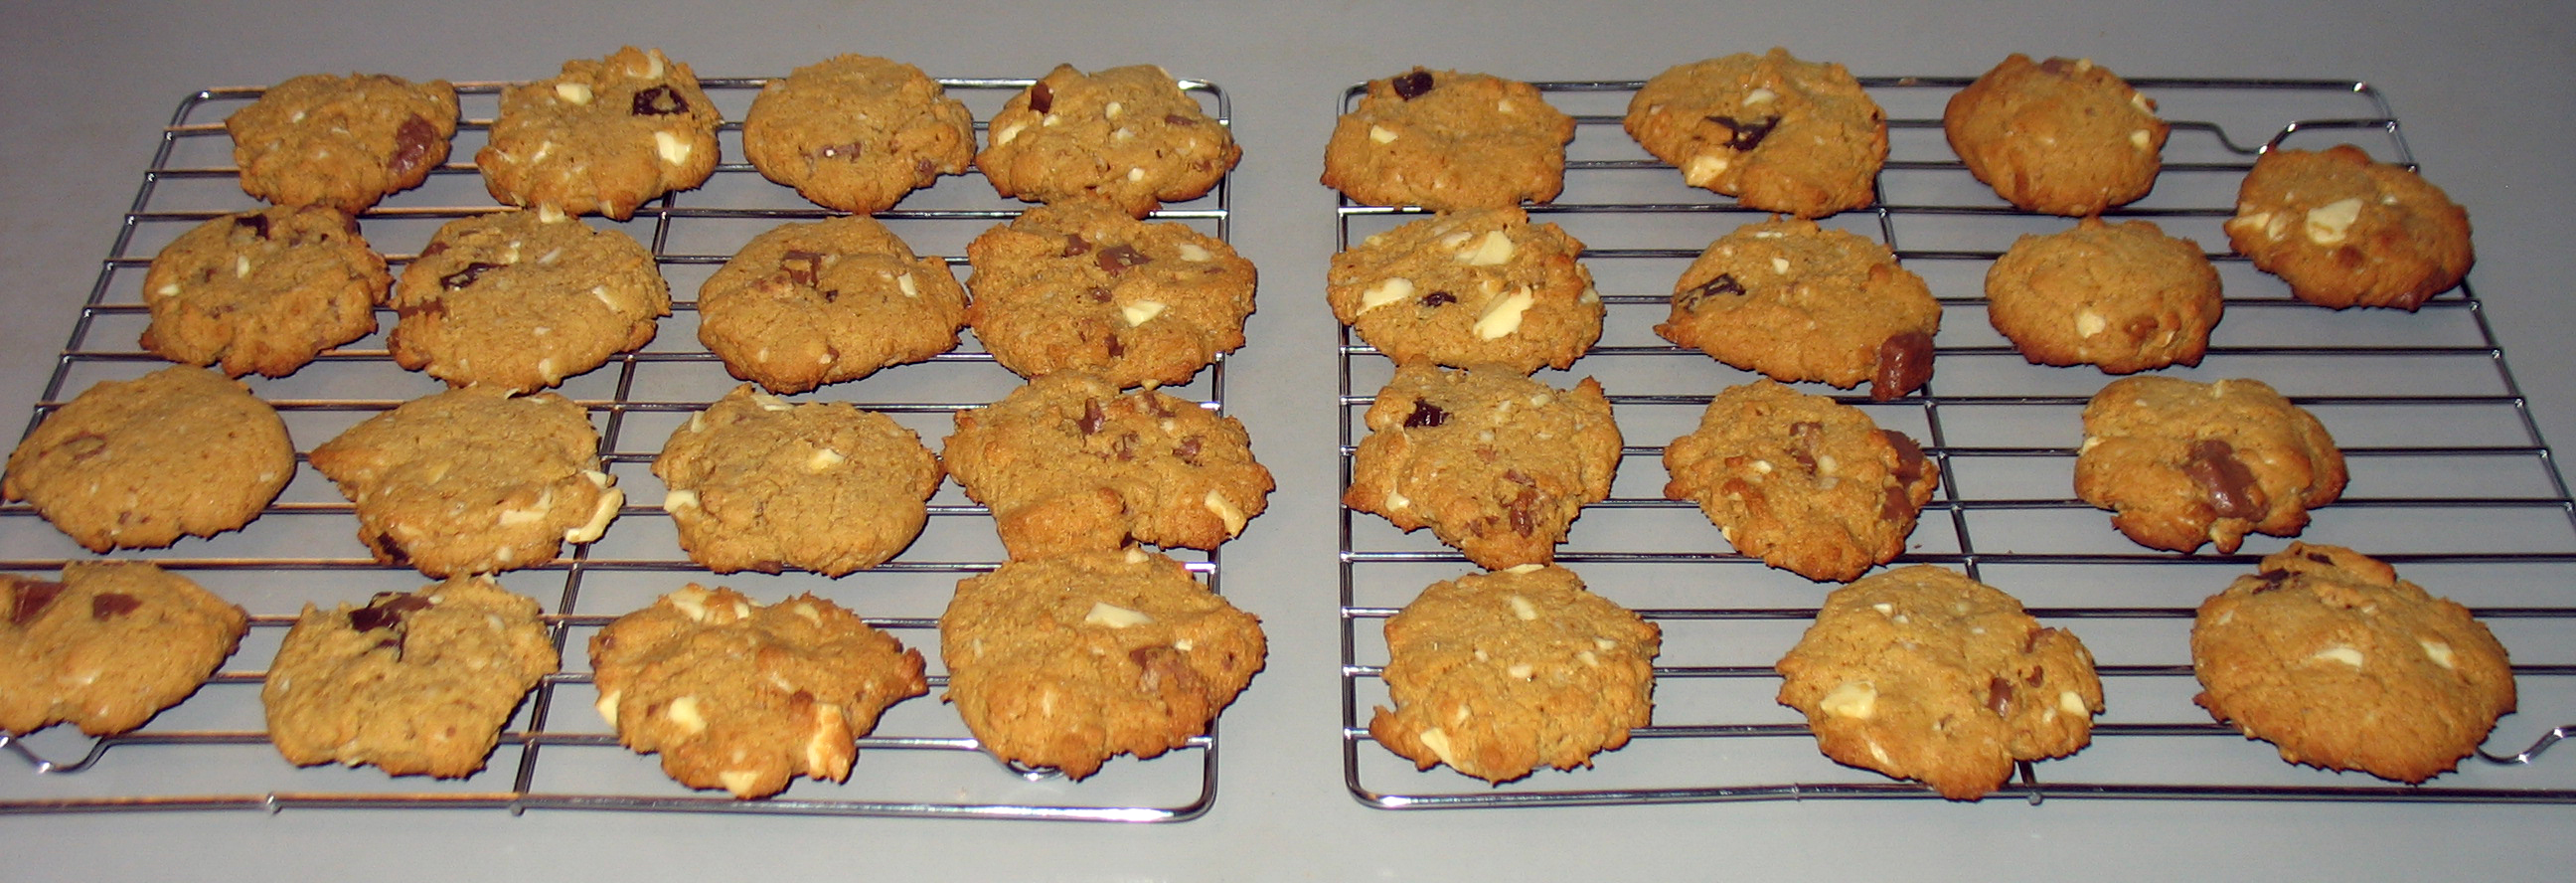
Chocolate Chip Cookies


 Ingredients
