 I’ve wanted to try baking cookies using alternative flours for a while now. My body seems to tolerate wheat less and less well as the years go by. I was hoping that coconut flour and almond flour would be friendlier choices for me.
Lately I’ve been inspired by the dinner recipes of Danielle Walker. I’m sure her recipes work perfectly without any tinkering – she seems to test them thoroughly. But somehow I have not yet managed to follow any of them exactly. My inner cook comes out, and I make a few changes. 😉
I decided to see what Danielle had to offer for cookies. You can find her recipe here. I stuck pretty closely to it, but not exactly. However, I was delighted by my results. These cookies are super delicious – delicate and yet slightly chewy, and they don’t upset my tummy!
Ingredients
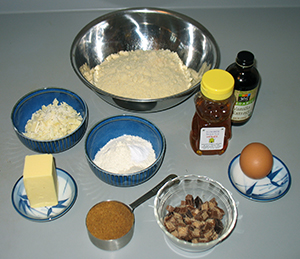 1/4 cup butter
1/4 cup coconut palm sugar
1 teaspoon cane sugar
2 tablespoons honey
1 large egg
2 teaspoons vanilla
1-1/2 cups almond flour
2 tablespoons + 1 teaspoon coconut flour
1/2 teaspoon baking soda
1/2 teaspoon Celtic sea salt
1/2 chocolate chips
Directions
In a food processor, cream together the butter, coconut sugar, cane sugar, honey, egg, and vanilla until well mixed, about 15 seconds.
(Creaming the butter and sugar the old-fashioned way – with a fork – would likely work equally well. I used the food processor for my first attempt. I may not bother rousting it out on my second.)
Add the almond flour, coconut flour, baking soda, and salt to the processor and process again until well mixed, about 30 seconds. Scrape down the sides of the processor, if needed, to get all the dry ingredients mixed in.
(I tasted my batch at this point and decided that it was not quite sweet enough. That’s where the “extra” teaspoon of cane sugar – listed above in the ingredients – came from. I also assessed the dough and felt that it was a little too liquid. So I added the “extra” teaspoon of coconut flour – also listed above in ingredients.)
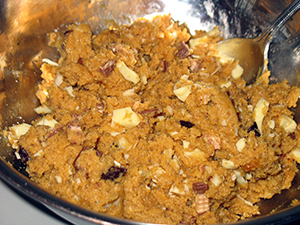 Turn the dough out into a mixing bowl, add the chocolate chips, and stir by hand until they are well mixed in.
(My batch in the photos likely looks a little strange to you. That’s because we had no chocolate chips in the house, and my husband and my daughter were out with car, shopping. So I improvised. I dug through the Halloween candy in the freezer and pulled out a mini chocolate bar, two kitkat bars, and a bar of white chocolate. I chopped them up and used them in place of the chocolate chips.)
Preheat the oven to 350°F.
Line two baking sheets with baking parchment.
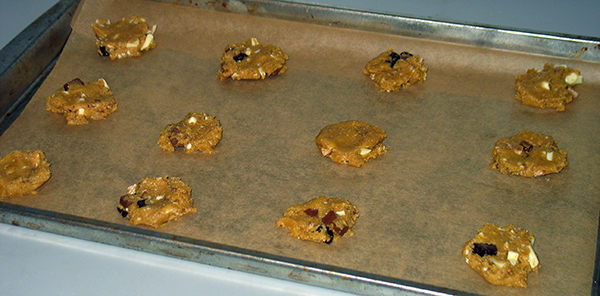
Drop the cookie dough by spoonfuls on the baking sheets. Flatten the cookies, because they will not change shape much while baking.
Bake 9 minutes and then cool on a rack. Makes 29 cookies.
More recipes:
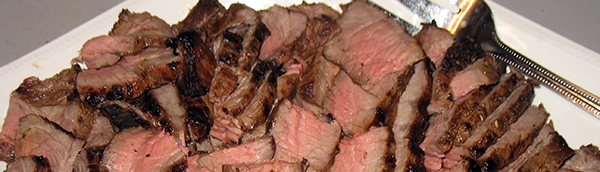
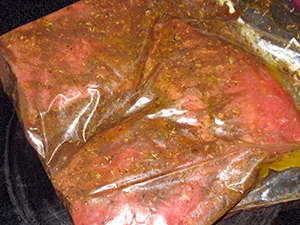
Arugula Beef
Butternut Soup
Baked Apples
Coconut Chocolates


 Directions