 Last fall, while watching The Minimal Mom on YouTube, I discovered the cookbook Cook Once, Eat All Week.
The title’s a bit of a stretch. The “cook once” is the prep cooking, and it results in three easy-to-assemble dinners. If you have four people in your household (as we do when the kids are home from college), you’ll have to do two rounds of prep cooking to cover six nights out of the seven. If you have only two people in the household, then each meal yields enough for two dinners (unless you both happen to be super hungry that night—just sayin’).
However, unlike some of the cook-ahead schemes I’ve heard of, the prep cooking does not take all day. In fact, it’s pretty manageable. The other thing that caught my attention was that almost all of the recipes are (or can be made) grain-free. That alone was enough to make me want to try it. A cookbook filled with recipes avoiding pasta, rice, and polenta would be awesome!
One other factor: I was very tired of our usual round of dinners. I desperately wanted something new.
So I ordered the book!
Wow! When it arrived, I was amazed and pleased.
My biggest problem was choosing which trio of recipes to try first. They all looked so good—which was a surprise for me. I’d never seen a cookbook before in which all the recipes looked good.
I did eventually choose. And I was wowed all over again. The prep cooking was very manageable. The final assembly on the night of eating was truly fast and easy. And every single one of the recipes was delicious.
I’d been somewhat skeptical as to how it would really work, but desperate enough to try it regardless.
Still…how would the second trio go?
Easy. Delicious.
Third trio? Fourth? Fifth?
Same. This cookbook was a total winner for me.
I eventually hit a few recipes that I felt needed some adjustment, but they were in the minority.
I’ve been wanting to tell you all about these adventures in cooking for months now, but I kept forgetting to take photos. And a post about cooking has to have at least a few photos.
Finally, once my kids returned to college for the spring semester, I buckled down with my camera. There’s just one problem: I’m past the boatloads of recipes that required no adjustments and am forging ahead on the ones that I could tell without cooking them that I’d need to switch something up.
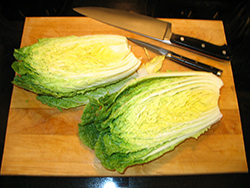
For example, I can’t eat cabbage unless it is cooked to death. So I substitute kale. Also, I’ve learned that I hate collard greens. (I’d never eaten them before.) So, again, I substitute.
What I want to do is share the entire process for a trio, from shopping list to prep to on-the-night assembly. Just be aware that the trio that follows is not identical to the one presented in the book.
Let’s get started!
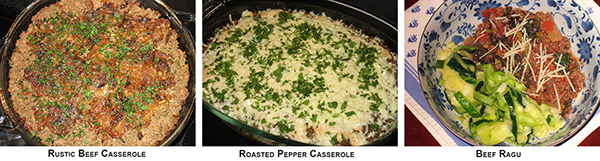
Rustic Beef Casserole
Roasted Pepper Casserole
Beef Ragu
Roasted Pepper Casserole
Beef Ragu
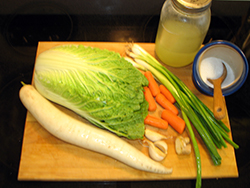
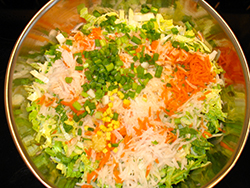
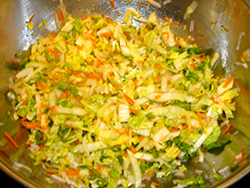
Shopping List
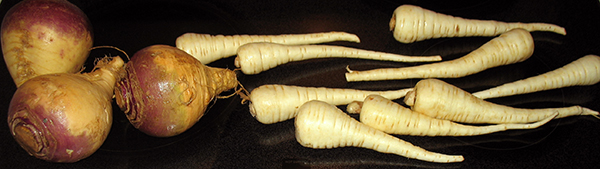
FRESH PRODUCE
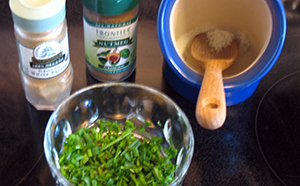
fresh cilantro, 1 bunch
semi-dried parsley, 0.35 oz
garlic, 3 cloves
kale, 2 bunches
lemon, 1
limes, 3
yellow onions, 3 large
green bell peppers, 5
zucchini, 5
MEAT/DAIRY
butter
ground beef, 6 pounds
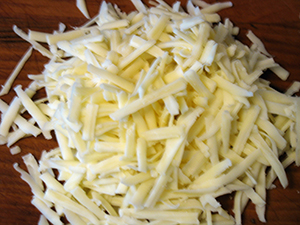
Cotija cheese, 1 block
shaved parmesan cheese
plain yogurt, 2 large tubs
FROZEN
frozen cauliflower florets, 4 pkg, 12 oz each
PANTRY
olive oil
balsamic vinegar
canned chipotle pepper in adobo sauce
chicken broth
crushed tomatoes, 28 oz can
red cooking wine
mayonnaise (I make mine homemade, but of course you can buy it)
SEASONINGS
chili powder
bay leaves
dried basil
oregano
thyme
cumin
garlic powder
onion powder
Note on groceries: The recipe for “Meal 2” actually calls for poblano peppers, but our grocery store does not carry them, so I substituted bell peppers, and they worked just as well. But I’ll try poblanos, if I can ever get them.
One other thing: I discovered that I love drained yogurt—it’s creamy and flavorful—so I usually substitute that for sour cream.
Once you’ve got your groceries in, start the prep cooking!
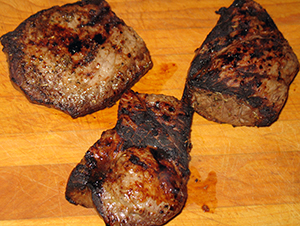
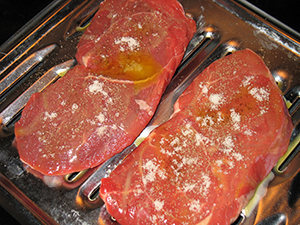
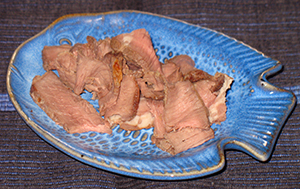
• Cook the ground beef
Ingredients
ground beef, 6 pounds
1-1/2 teaspoons sea salt
butter
Directions
Melt the butter in a large pot on the stovetop at medium heat. Crumble the beef into the melted butter. Sprinkle with the salt. Cook, stirring occasionally, until the meat s fully browned, about 15 to 20 minutes.
Set aside to cool.
Divide the beef once it is cool. Set aside 4 cups to use later in assembling the Rustic Beef Casserole. Divide the rest in half and put each portion (roughly 3 cups each) in a container in the fridge. Label one container “Roasted Pepper Casserole,” and the other “Beef Ragu.”
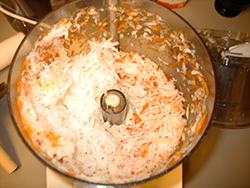
• Prepare the zucchini noodles
Use a vegetable peeler to create wide ribbons of zucchini. (Discard the seed cores.)
Line two rimmed baking sheets with tea towels. Toss the zucchini ribbons with 1-1/2 teaspoons of sea salt. Spread the ribbons across the towels.
Let sit an hour, then gather each bunch up in its towel and squeeze out as much liquid as possible from the zucchini.
Line an air-tight container with paper towels, place the ribbons in it, and store in the fridge for use in “meal 3.”
• Caramelize the onions
Ingredients
3 large yellow onions
2 tablespoons butter
1 teaspoon sea salt
Directions
Remove the skins and then thinly slice the onions.
Melt the butter in a heavy skillet over medium-low heat. Add the onions and salt. Cook 45 minutes, stirring occasionally, until the onions have reduced and turned a deep caramel color.
Set aside to use later in the prep day when assembling the casserole for “meal 1.”
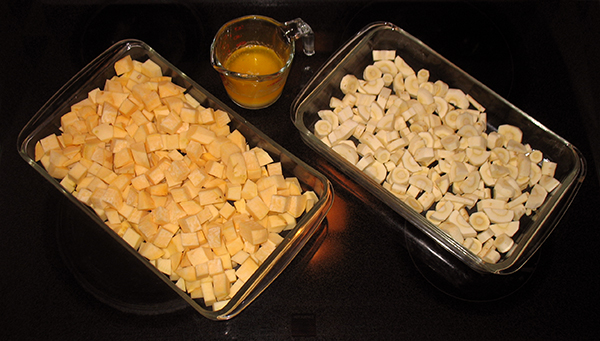
• Roast the peppers
Pre-heat oven to 400°F.
Remove the cores and seeds from the peppers. Slice them in 1-inch strips. Toss the pepper strips in 2 tablespoons of olive oil.
Cover a rimmed baking sheet with baking parchment. Spread the pepper strips on it.
Roast the peppers for 25 minutes. Set aside to use later in the prep day when assembling the cassrole for “meal 2.”
• Prepare the kale
Ingredients
2 bunches kale
1 tablespoon olive oil
juice of half a lemon
pinch of sea salt
Directions
De-stem the kale and chop medium coarsely.
Heat olive oil in a large pot over medium heat. Add kale, cover pot, and cook 3 to 4 minutes, until the kale is wilted.
Divide kale in half. Store one portion in fridge for us in “meal 3.”
To the other portion, add the lemon juice and salt, stir, and set aside to use later in the prep day when assembling the casserole for “meal 1.”
• Make the red wine reduction
Ingredients
1 cup red wine
2 tablespoons balsamic vinegar
1 teaspoon sea salt
1/2 teaspoon thyme
Directions
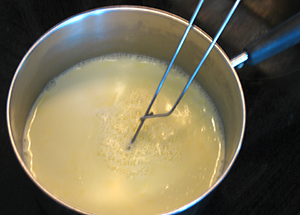
Combine all ingredients in a medium saucepan. Bring to a boil over medium-high heat. Reduc heat to medium and simmer 10 minutes. Set aside to use later in the prep day when assembling the casserole for “meal 1.”
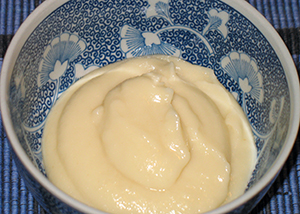
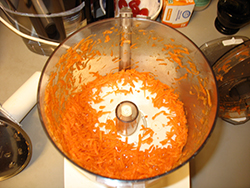
• Make the mashed cauliflower
Ingredients
3 packages frozen cauliflower florets, 12 oz each
1/4 cup drained yogurt
2 tablespoons butter
1 teaspoon sea salt
1/2 teaspoon garlic powder
1/4 teaspoon black pepper
Directions
Steam the cauliflower florets for 15 minutes in a covered pan on the stovetop.
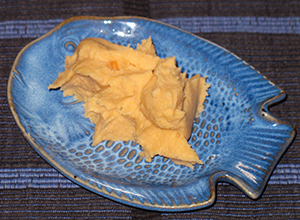
Place the steamed cauliflower and the rest of the ingredients in a food processor. Pulse until blended and smooth. Set aside to use later in the prep day when assembling the casseroles for “meal 1” and “meal 2.”
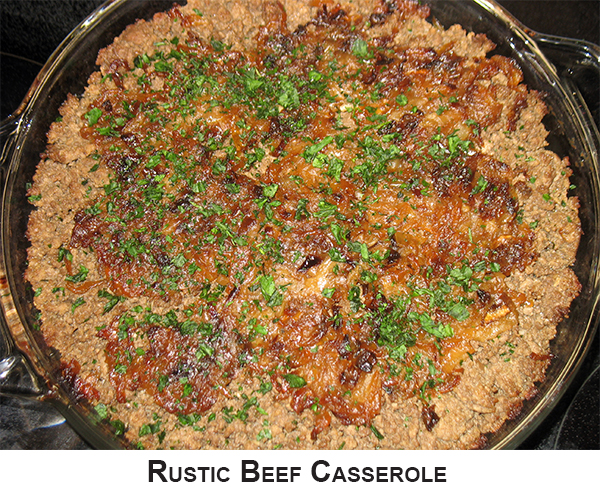
• Assemble the casserole for “meal 1” (Rustic Beef Casserole)
Ingredients
4 cups cooked ground beef
red wine reduction
4 cups mashed cauliflower
wilted kale with lemon juice
caramelized onions
Directions
Place beef and red wine reduction in a large bowl and toss well.
Spread the cauliflower in a 3-quart casserole dish. Layer the kale atop the cauliflower. Spread the beef atop the kale. Top the beef with the caramelized onions.
Cover the casserole with a lid or with aluminum foil.
Store in the fridge until you are ready to cook and serve it. If you are doing prep on the same day you plan to eat “meal 1” (and it is getting close to dinner time), you can pop the casserole in a 350°F oven and cook it for 30 minutes.
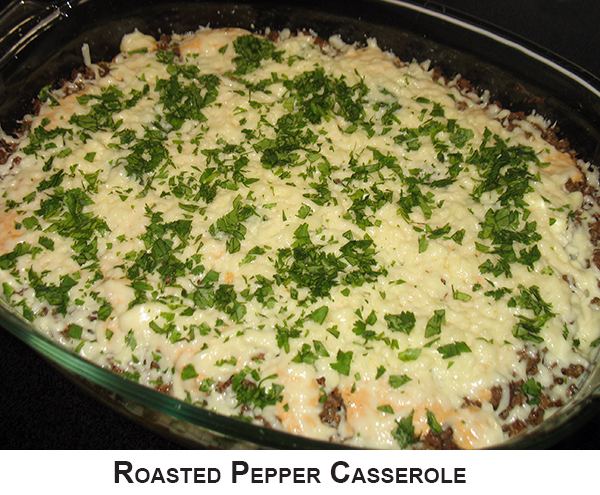
• Assemble the casserole for “meal” 2 (Roasted Pepper Casserole)
Ingredients
roasted peppers
mashed cauliflower
3 cups cooked ground beef
1/2 teaspoon sea salt
1 teaspoon chili powder
1 teaspoon cumin
1 teaspoon oregano
1/2 teaspoon garlic powder
1/2 teaspoon onion powder
1/4 teaspoon black pepper
juice of 1 lime
Directions
Place beef, seasonings, and lime juice in a large bowl and toss thoroughly.
Spread the roasted peppers in a layer across a 3-quart casserole dish. Layer the mashed cauliflower over the peppers. Layer the beef mixture atop the cauliflower.
Cover and store in the fridge.
• Make the tomato sauce
Ingredients
1 tablespoon olive oil
1/2 yellow onion, diced
3 cloves garlic, minced
crushed tomatoes, 28-oz can
2 teaspoons dried basil
1 teaspoon oregano
1 teaspoon thyme
2 bay leaves
1/2 teaspoon sea salt
1/4 teaspoon black pepper
1/2 cup red wine
Directions
In a medium saucepan, sauté onions and olive oil over medium heat for 4 minutes. Add garlic and cook another minute.
Add remaining ingredients and stir. Reduce heat to medium-low and cook 7 minutes, stirring occasionally.
Cool and store in fridge to use in “meal 3.”
• Make chipotle cream sauce
Ingredients
3/4 cup drained yogurt
1/4 cup mayonnaise
2 chipotle peppers
2 tablespoons adobo sauce (from can of chipotle peppers)
Directions
Place all ingredients in a food processor (or blender) and pulse until smooth. Store in fridge to use in “meal 2.”
Ingredients
pre-assembled casserole
1 tablespoon semi-dried parsley
Directions
Pre-heat oven to 350°F.
Bake covered casserole for 30 minutes.
Let cool slightly, garnish with parsley, and serve.
Ingredients
pre-assembled casserole
chipotle cream sauce
1 oz cotija cheese, crumbled
2 tablespoons chopped fresh cilantro leaves
Directions
Pre-heat oven to 350°F.
Bake covered casserole for 30 minutes.
Remove casserole from oven, remove lid, and let cool slightly. Drizzle chipotle cream sauce over the casserole. Sprinkle with cotija cheese and cilantro, then serve.
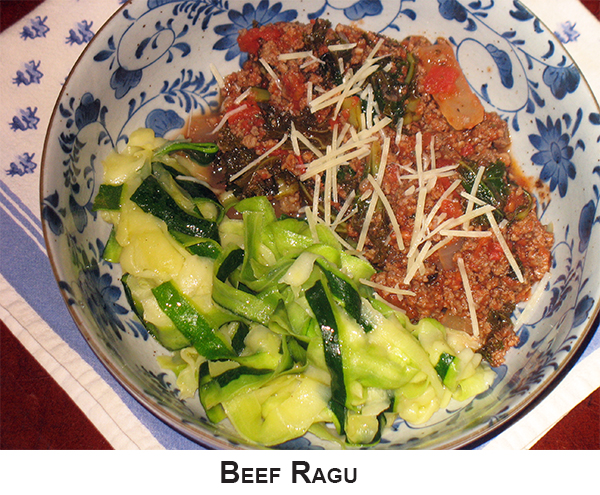
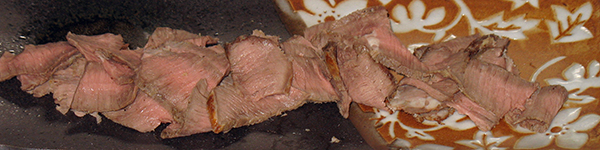
Ingredients
tomato sauce
3 cups ground beef
salt to taste
wilted kale (without lemon juice)
olive oil
zucchini ribbons
1/2 cup shaved parmesan
black pepper
Directions
Bring the tomato sauce to a simmer in a large pot over medium heat. Add beef and cook 7 minutes.
While the sauce is simmering, cook the zucchini ribbons by heating the olive oil in a skillet over medium heat. Add the ribbons and sauté for 5 minutes. Drain off excess liquid and set aside the ribbons.
Add kale to the sauce and cook for 2 minutes. Add salt to taste, if needed.
Serve the sauce and the zucchini ribbons side-by-side. Garnish with parmesan.
Whew! That was a lot of typing! I think it was more work to type it all up than it was to cook it. I found the cooking to be remarkably stress-free. And the meals were so delicious!
Aside from the dairy ingredients, the above recipes are compliant with the Whole30 program of eating.
Uh, oh! I knew I’d not written all the Whole30 recipe posts that I’d planned, but I thought I’d written a brief intro about the Whole30 itself. Apparently not!
That means I won’t be able to link to it as I’d intended. Instead, I’ll provide links to my other nutrition posts. (And I’ll think about writing that intro post sometime in the future.)
For more about nutrition, see:
Milk Is Highly Insulinogenic
Why Seed Oils Are Dangerous
Thinner and Healthier
Butter and Cream and Coconut, Oh My!


 2 •
2 •  5 •
5 • 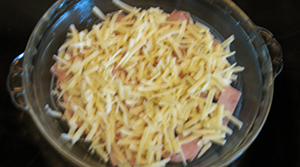 9 •
9 • 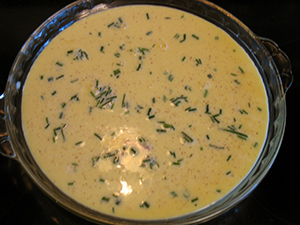 12 •
12 • 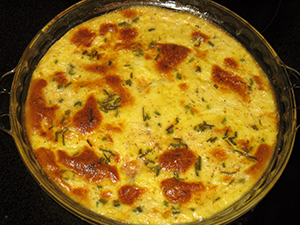 14 •
14 • 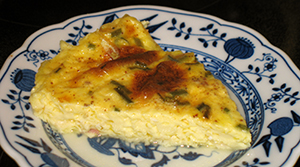 15 •
15 • 
 Directions